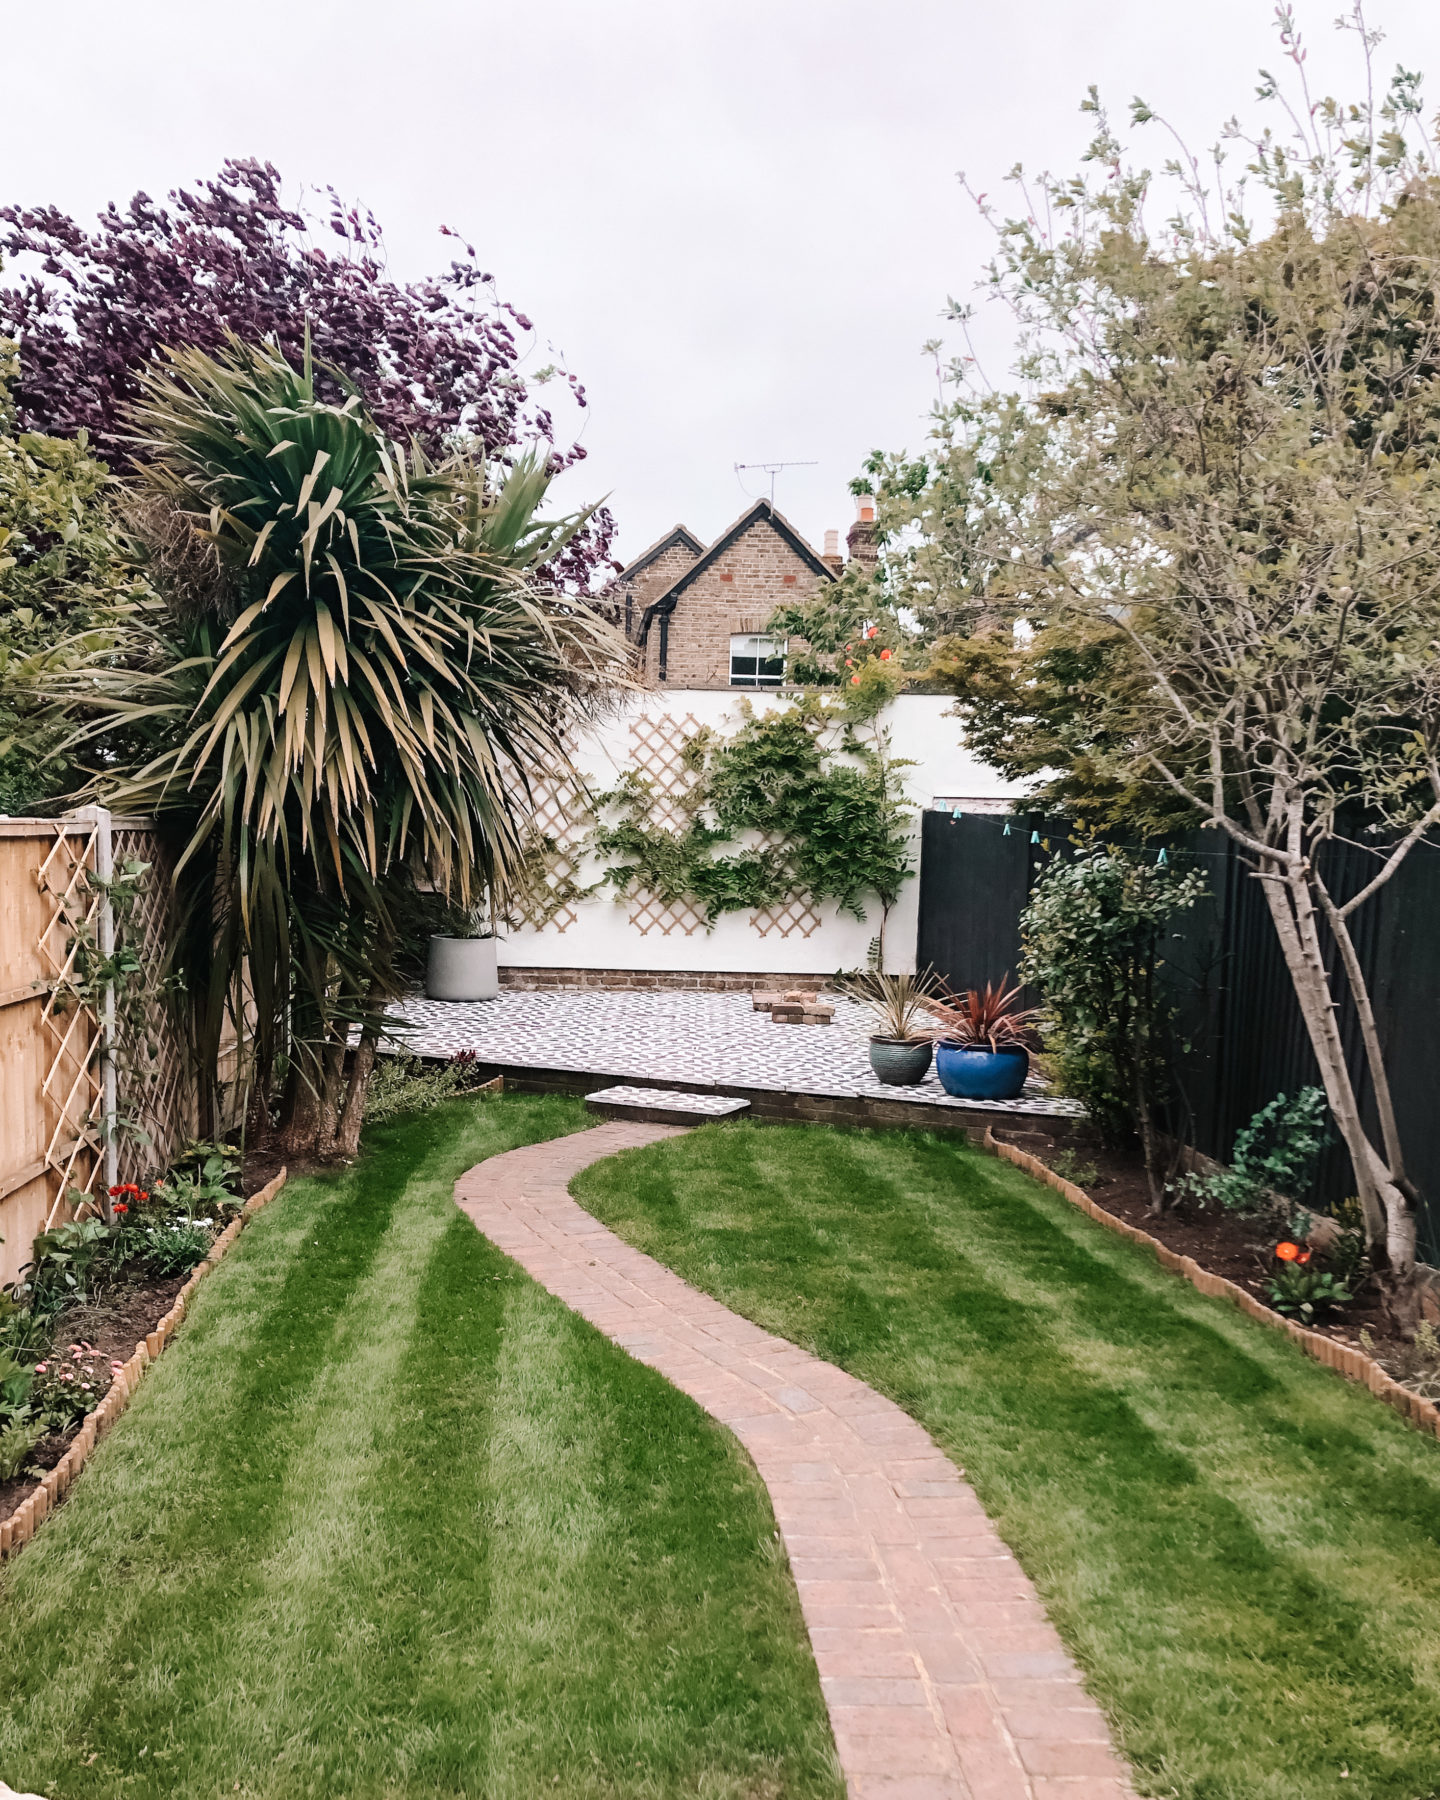
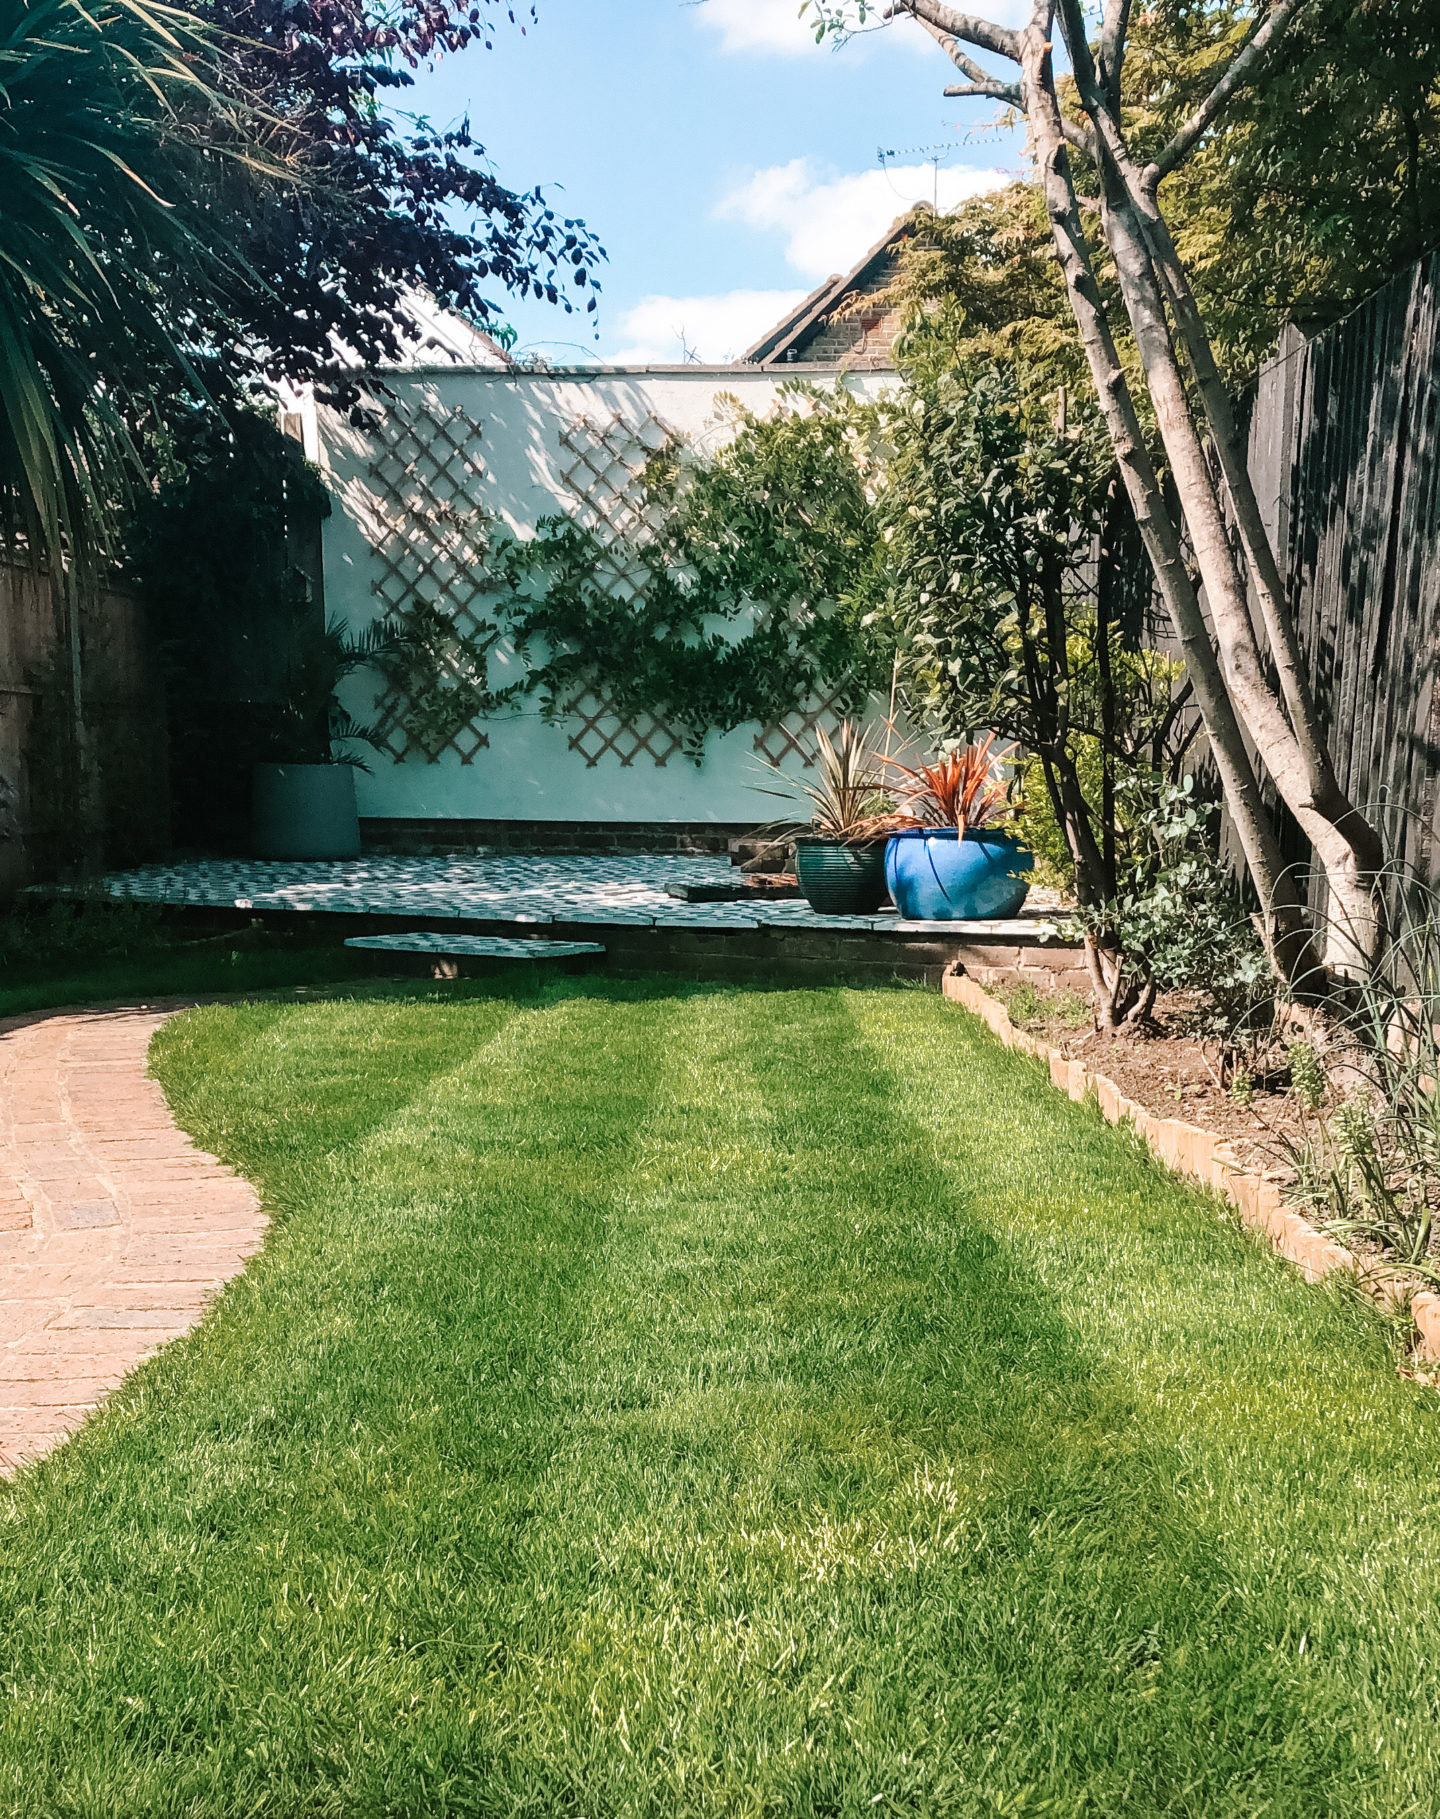
After 6 years in the support role, now is the time to come out of the shadows for my debut post about growing grass – niche entry to the world of blogging but I’m gonna run with it. Jess’ recent post showing the before and after of our grass efforts really struck a chord with so many people out there struggling to get their best out of their lawns. I have crowned myself the Grass King but honestly anybody can do it. It’s true I became slightly obsessed and lost some solid hours on You Tube tutorials and down rabbit holes about the different ways to approach the task but hopefully this article can save you all that hassle.
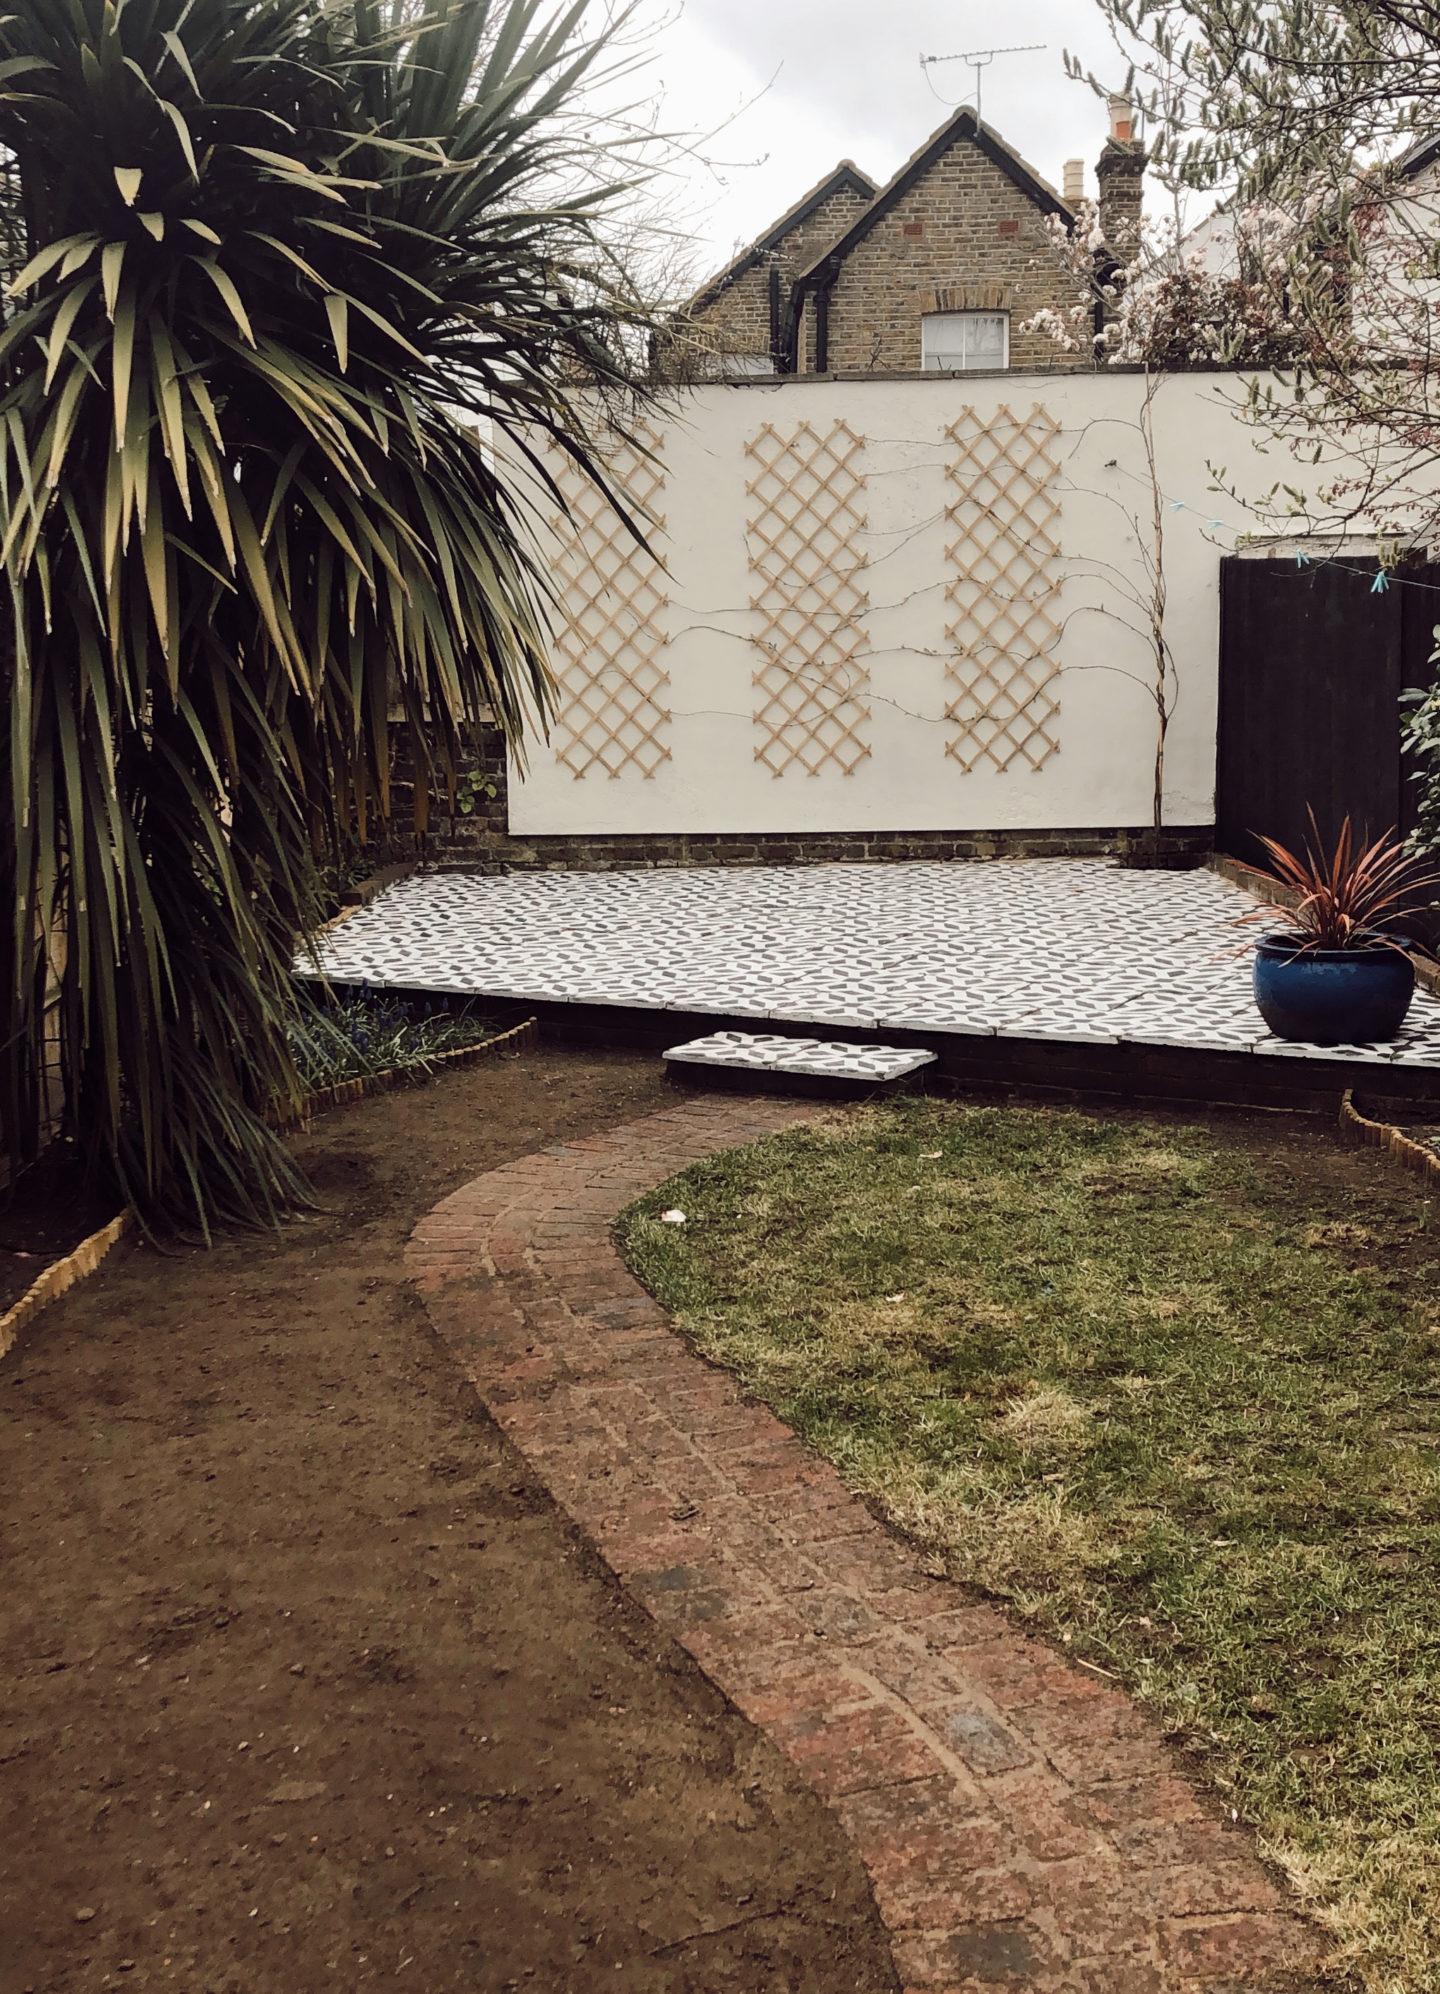
I set out on our grass pilgrimage in February this year with the goal of achieving the holy grail – a stripy lawn. Our garden is divided by a path so we were working with 2 separate patches of grass. Both sides were shabby and needed attention but I approached each side differently. If you are wanting to grow seed from scratch see part 1, but if you want to recondition / repair an existing lawn then skip to part two.
Part 1 – Starting from Scratch.
If your lawn is in really bad shape then consider ripping it all up and starting from scratch. If you can see large parts of dirt without existing grass or its infested with weeds then its definitely time to wipe the slate clean and start with a fresh canvas. Health warning – this is physically challenging and hard graft. Once you’ve committed there is no going back so ensure you are in the for long haul before opting for this. The more of the prep work you put in at the beginning, the better the result will be so stick with it.
Out with the old
Start by taking a garden fork and lifting what’s left of the existing turf / weed / patches up from their roots. Dig deep and ensure all previous root growth is out and discarded. Turn the soil over and over until all the clumps have broken down and you are left with loose, fluffy soil (the dream consistency would be freshly ground coffee but being realistic it might look more like gravy granules). Remove stones and other objects that you might find along the way. This can be tedious and hard work but is important to maximise the all important seed to soil contact. We used a garden rake and sieve to help filter out the larger clumps / stones. This stage is particularly exciting as you may find some historically important artefacts, buried treasure or time capsules (or more likely just rocks, worms and beatles).
Improve your soil
You’ve removed all the crap, now its time to improve the quality of your soil. I used a regular box of fish, blood and bone to add some nutrients to the soil – this is not essential but recommended.
Preparation and Levelling
Continually rake the soil gently to smooth out any lumps and bumps and make it as flat as possible. If you have troughs and dips the water will puddle which will drown the seeds so its worth spending time at this stage. I duck taped a horizontal piece of wood to our rake which created a makeshift tool that helped with this, but a regular rake will do the job just fine. Once its level you need to compact it. To do this take tiny pigeon steps across the soil to compact it down. This feels counter intuitive having spent so much time fluffing it up but it is key. Work your pigeon steps consistently and evenly over the soil one way, and then go again in the opposite direction to ensure an even level of compaction. The final part of this stage is to lightly rake the soil over in 1 direction taking care not to undo the levelling work you’ve just done. You want to loosen the top inch of soil that’s all. When this is finished you should have a beautiful patch of cleared, improved, levelled, compacted and raked soil. You are ready to sow your seed.
Seeding
I used Westland fastgrow seed from B&Q. Take time to read the guidelines on how much seed you need relative to the size of your area. Then sow the seeds consistently and evenly over the soil to make sure you have even coverage. After that tread the seeds into the soil to maximise that sweet sweet seed to soil contact. Sit back and open a beer, you’ve earned it.
To add context, the area I seeded from scratch is no more than 16sqm and the above took 1.5. days.
After care
Ensure the seed never dries out by watering morning and night or as often as needed. Try not to blast with the super soaker section of hose and go for a gentle mist / sprinkle option so not to wash the seed away or let puddles form. If this happens you’ll be straight back to patchville. I tried to water little and often as opposed to soaking it through once a day. Keep this up for 7-14 days and you will see green shoots of hope. It will start with a delightful green hue and thicken into a luscious carpet of joy.
You’ve done the hard yards now skip to part 3.
Part 2 – Recondition an Existing Lawn
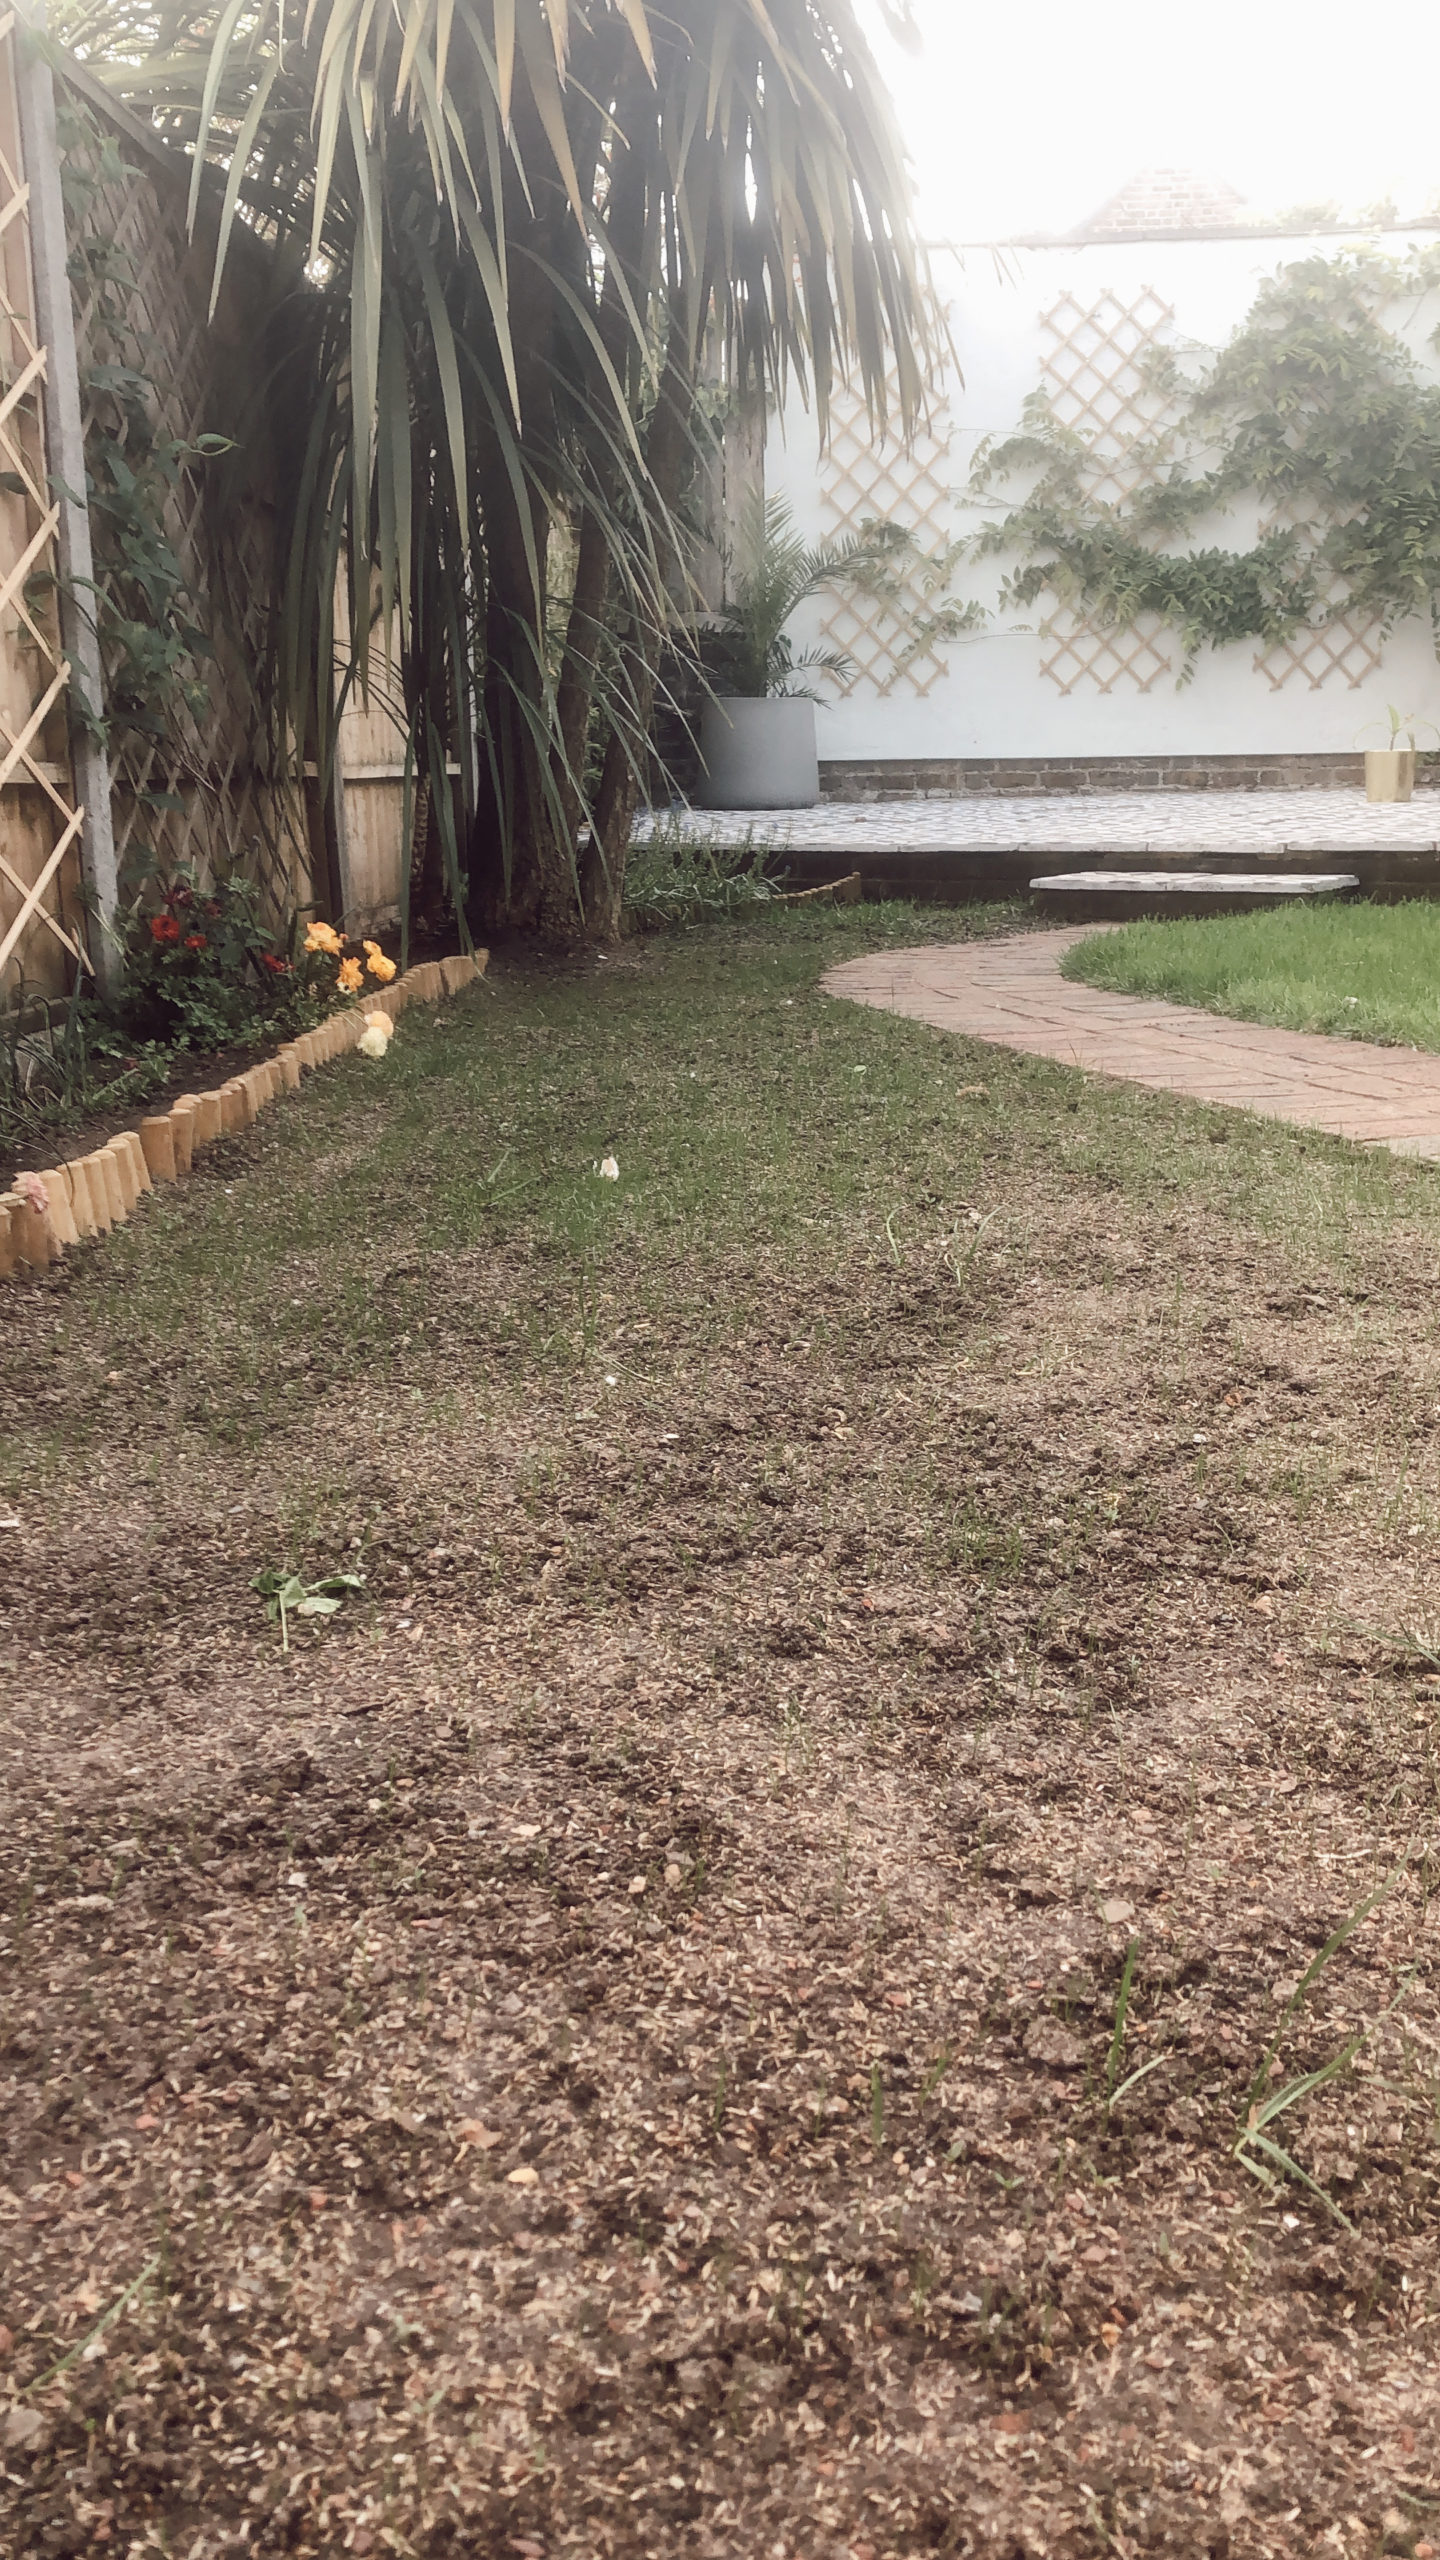
If your current lawn just needs some TLC to bring back the glory days as opposed to drastic action in part 1, then this is a much easier option.
Dethatch
Take a grass rake and ‘de-thatch’ or ‘scarify’ the lawn all over. These are two words of fruity gardener jargon I had to google, basically it means removing a spongey layer of old/yellow grass that sits as a thatch just above the soil. I was surprised at how much crap was removed and its worth working it over a few times to clear it all out. Doing this allows light, air and nutrients to penetrate the soil and enrich the roots properly. Note this process should be done in spring and autumn as a routine maintenance as well. It will look worse before its get better but is definitely worth it and possibly the reason your grass was not a pitcture of health in the first place.
Improve
If lots of thatch was removed and the soil is looking really dry it could be worth giving it a few rounds of watering and working in some new nutrients (fish, blood and bone, or just a thin layer of compost) to give yourself the best chance of the holy grail. Eitherway try and loosen the top section of soil without ripping up the grass you have left – easier said than done but you’ll find a grove that works for you.
Thickener / Seed
At this point I used a seed / fertiliser combo (westland brand again) and spread evenly over the grass. Check the box and measure out the right quantity, too much fertiliser can be bad too so its worth doing the maths.
Hydration – from here keep it watered and moist with a gentle watering morning and night to keep it hydrated. Even after a few days you should start to see an improvement in the colour, richness and texture of the lawn. The holy grail is close my friend go to part 3.
Part 3 – Get Your Mow On
So youve got some growth and its time for a trim. If you have started from scratch or reconditioned the existing you want to go for the first mow when the growth is around 5-8cm. If you cut more than a 3rd of growth off it will rip the roots and do some damage so use your mowers highest setting first, and gradually cut shorter to avoid damaging the growth.
You can repeat the thickener / seed / mow process over and over until you have beautiful, thick lawn of dreams.
By this point you have reached grass king status – hell of an achievement. It aint much but its honest work.
I dedicate my revitalised lawn and this article to my wife Jess who paid absolutely no interest in the process whatsoever from the outset.
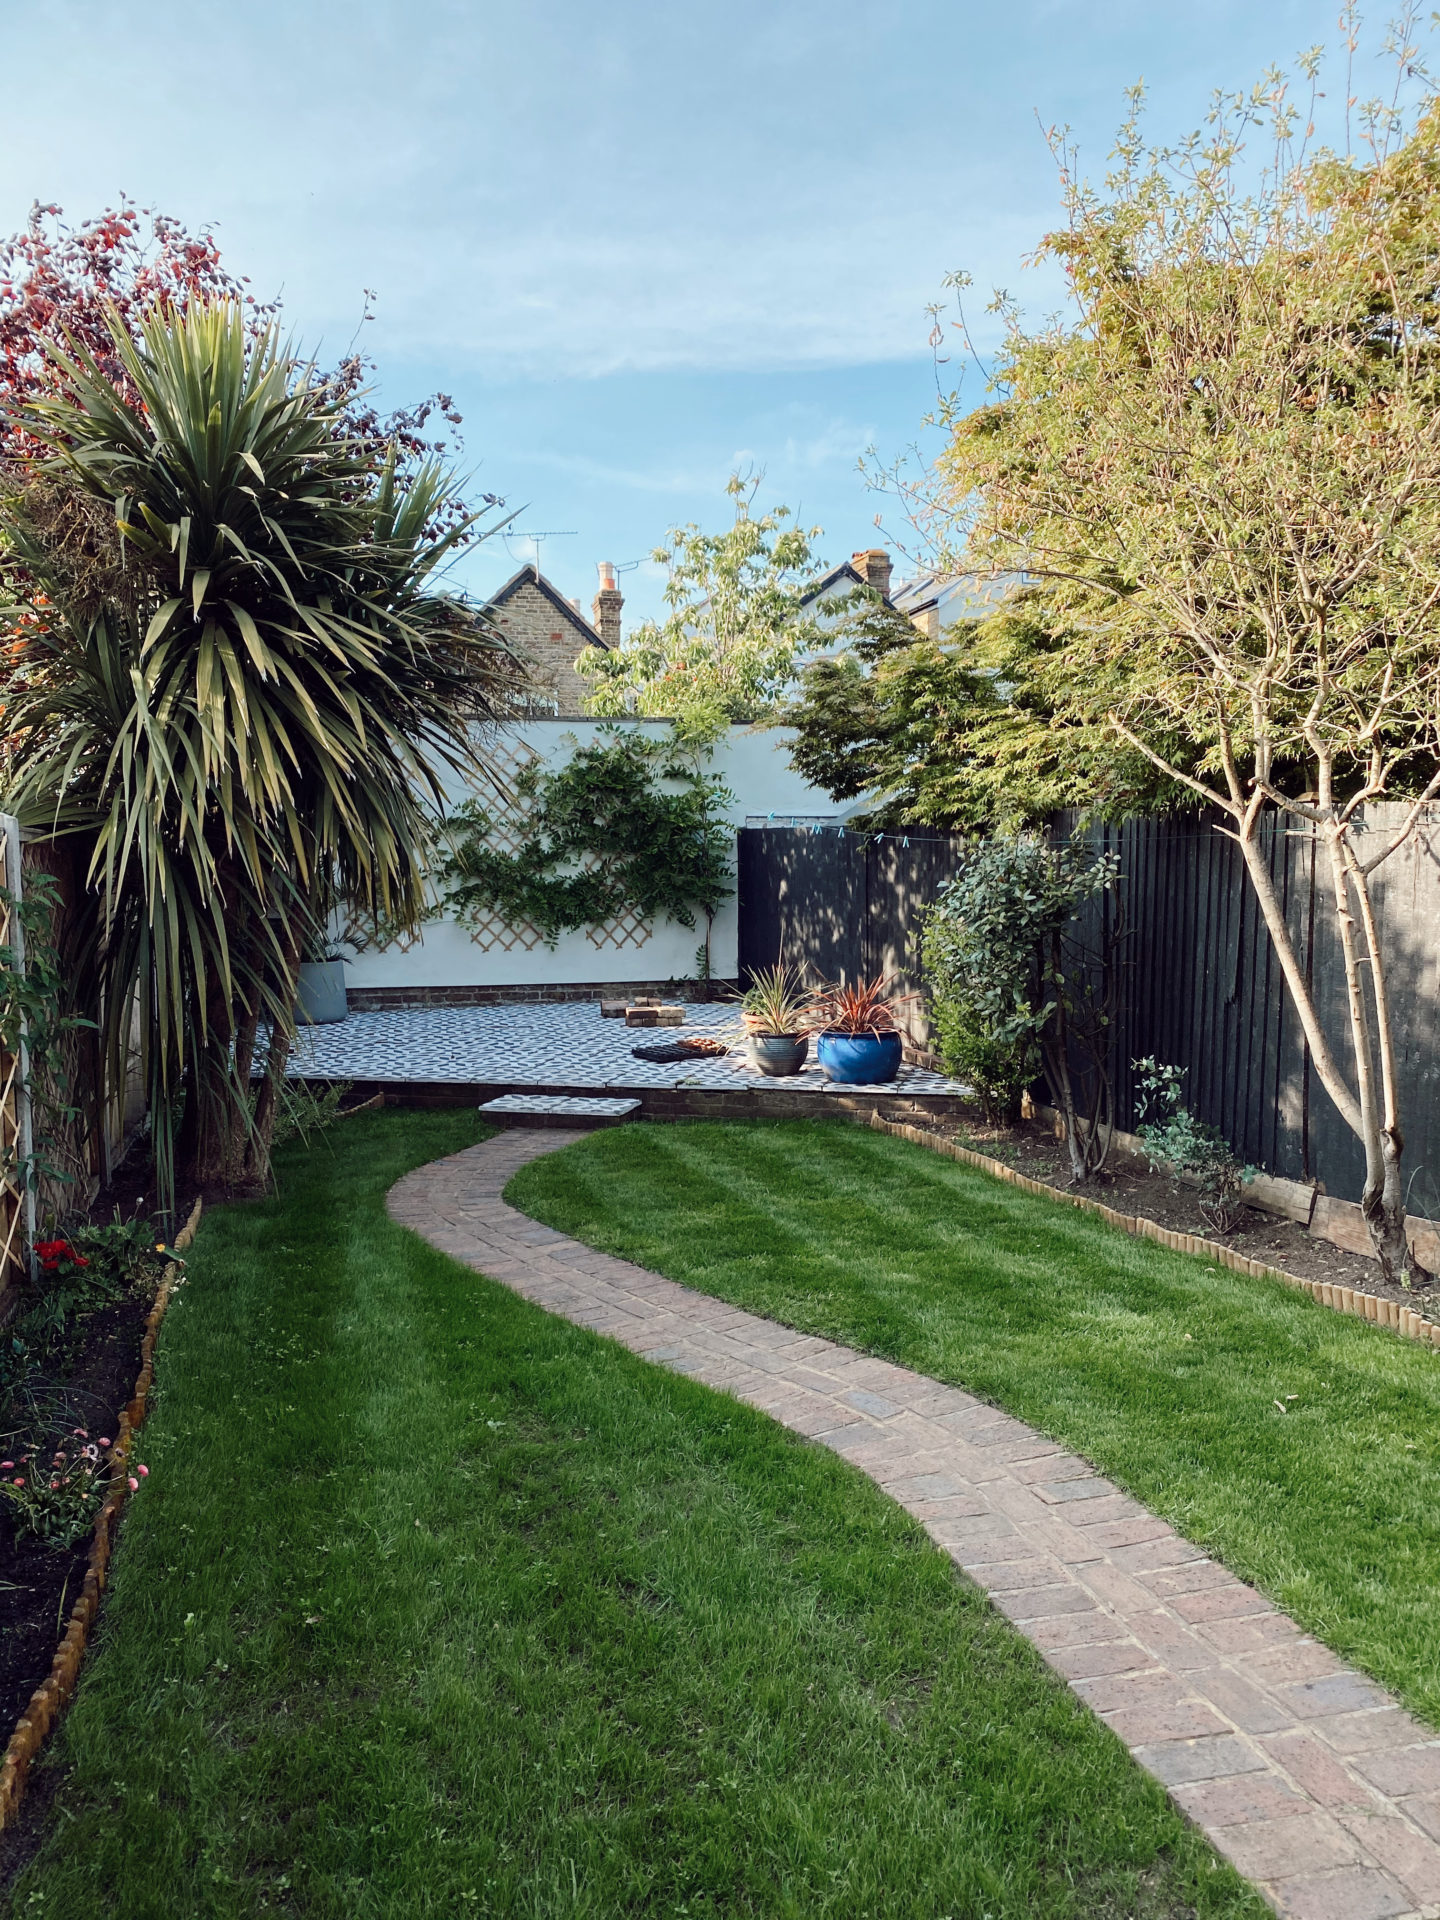
Tools, Equipment and Products
Check out the garden shop on the blog here! (Or click on the links individually below)
Westland Fast Acting Grass Seed
Westland Lawn Seed / Fertiliser Thickener
General Tips:
- Try and cut back any bushes, trees or plants that may encroach on your future grass, you want maximum level of sunlight to hit the seeds/grass.
- Invest in the right watering method either watering can or hose/sprinkler attachment- you cant be jet blasting the seeds to oblivion.
- Only sow seeds when the temperature is right – generally above 10 degrees so late march / April is great, or the late autumn. Sowing in summer will be harder and seed will dry out / die.
- Worms are your friends – you’ll find loads and think of them as your personal army of soil cleaners.
- When getting rid of the old there will be a lot to get rid of. Have an exit strategy prepared with containers / bags and dispose in the green bin, take to the dump, or if you have space add to a compost heap.
- It’s a real cliche but ‘keep off the grass!’
- Check your seed is still in date as they can expire. I found this out through bitter experience having sowed some dud seed and watered it like a chump for 3 weeks with no growth. Worth investing in a new batch and not using that old box at the back of the shed.
Enjoyed this post? Pin Me For Later!


Your garden’s looking lush!
ALSO—Sam totally used the “old box at the back of the shed” because we didn’t know grass seed goes out of date, so that explains why our is still a patchy mess!
thank you! Yes who knew that grass seed has a use by date (considering there wasn’t one on our box haha).